Upgrading your kitchen or bathroom countertops is one of the most noticeable improvements you can make to a home. New surfaces can change how a room looks, how it functions, and how easy it is to maintain every day. If you are planning a custom countertop installation Tampa FL homeowners often choose for a remodel or replacement, it helps to understand each step before the work begins.
The process is more detailed than simply removing an old top and placing a new one in its place. A custom project usually involves design selections, measurements, fabrication, preparation of cabinets or supports, delivery logistics, installation, and finishing touches. Whether you are scheduling a stone countertop installation St Petersburg FL residents commonly request for a kitchen update or a bathroom vanity replacement in Tampa, knowing what to expect during countertop replacement can make the experience smoother and less stressful.
This guide walks through the typical countertop fabrication and installation process, explains how to prepare your home, and highlights the practical details that matter most.
Why Custom Countertops Require a Multi-Step Process
Custom countertops are made to fit the exact dimensions and layout of your space. Unlike off-the-shelf surfaces, they are cut around walls, sinks, cooktops, backsplashes, and other features. Natural stone and engineered surfaces also need careful handling because slabs are heavy, rigid, and valuable. That is why a professional installation usually follows a clear sequence rather than a one-day swap.
Each stage serves an important purpose:
- Planning and selection help match the material to the room’s style and intended use.
- Precise measurements reduce the risk of fit issues during installation.
- Fabrication turns a raw slab into a finished countertop with polished edges and cutouts.
- Site preparation helps ensure cabinets and supports are ready for the weight and dimensions of the new top.
- Installation and finishing secure the countertop and complete the final appearance.
Understanding those stages helps homeowners set realistic expectations for timing, access to the room, and the level of coordination involved.
Step 1: The Initial Consultation and Material Selection
The process usually starts with a consultation or showroom visit. At this stage, the goal is to choose the right countertop material, color, edge profile, and overall design for the space. Common countertop materials include granite, marble, quartz, and other stone surfaces, each with different appearance and maintenance considerations.
What you may discuss during planning
- The size and layout of your kitchen, bathroom, laundry room, or bar area
- How you use the space every day
- Your preferred sink style, such as undermount or drop-in
- Backsplash plans and wall conditions
- Edge profiles, corners, and overhangs
- Whether the project includes cooktop or faucet cutouts
- The look of seams and where they may be placed if needed
This is also the time to think about practical concerns. For example, a busy family kitchen may need a surface that handles regular meal prep well, while a guest bathroom vanity may be more focused on visual impact. If you are selecting a natural stone slab, movement, veining, and color variation are part of the material’s character, so viewing the slab in person can be especially helpful.
Step 2: Measuring and Templating the Space
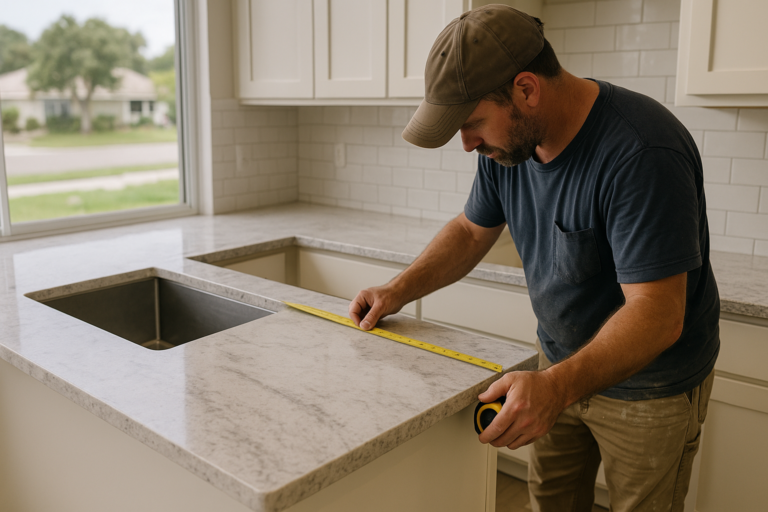
After the design details are confirmed, the next major step is measuring the installation area. In custom work, measurements are not just rough estimates. Fabricators need precise dimensions so the finished countertop fits correctly around walls, cabinets, appliances, and plumbing fixtures.
Why templating matters
Templating creates an exact pattern for fabrication. Depending on the company and the project, this may be done digitally or with physical templates. The template captures more than the length and width of the countertop. It also records:
- Sink and faucet locations
- Cooktop or range cutouts
- Inside and outside corners
- Overhang depth
- Wall irregularities
- Seam placement considerations
This stage is one of the most important parts of the countertop fabrication and installation process. Even small measurement errors can affect the final fit, especially in older homes where walls may not be perfectly straight and cabinets may not be perfectly level.
Homeowners should know that final templating is usually done only after base cabinets are installed and secured in their permanent positions. If cabinets move afterward, the countertop may no longer fit as intended.
Step 3: Preparing Cabinets and Supports Before Fabrication
Before fabrication and certainly before installation day, the underlying cabinetry or vanity base needs to be ready. Countertops depend on a stable foundation. If cabinets are out of level, loosely attached, or incomplete, the installation may need to be delayed.
Key preparation points
- Cabinets should be fully installed: Doors and drawers do not always need to be perfect yet, but the cabinet boxes must be in their final position.
- The tops should be level: Uneven cabinets can affect seam alignment and stress the countertop.
- Appliance openings should be confirmed: This is especially important around ranges, cooktops, and dishwashers.
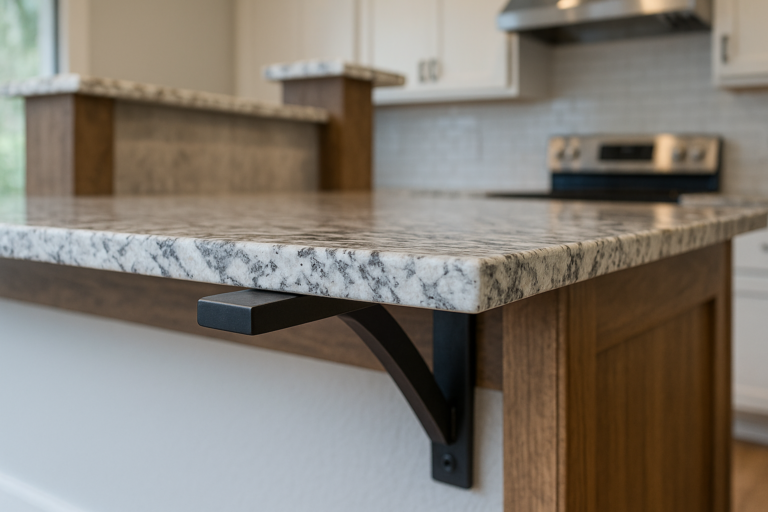
- Support needs should be addressed: Areas with seating overhangs or narrow supports may require brackets or reinforcements.
- Sink and fixture specifications should be finalized: Fabricators typically need exact model information for sinks, faucets, and cooktops.
For homeowners wondering what to expect during countertop replacement, this is one of the stages where a remodel schedule can affect the countertop timeline. If plumbing, electrical, tile, or cabinet work is still in progress, the countertop phase may need to wait until the space is truly ready.
Step 4: Fabrication of the Countertop
Once measurements are approved, the selected material moves into fabrication. This is where the slab is cut and finished to match the template. The work is typically performed in a controlled shop environment using specialized machinery and finishing tools.
What happens during fabrication
- The slab is laid out based on the template
- Fabricators plan cut placement to make the best use of the material’s pattern
- Sink, faucet, and appliance openings are cut
- Edges are shaped and polished
- Seam areas are prepared
- The surface is inspected before delivery
For natural stone, fabricators often pay close attention to grain direction, veining, and visual balance. On larger kitchen layouts or islands, the goal is not only a functional fit but also a pleasing finished appearance.
Some homeowners are surprised by how much craftsmanship is involved in this stage. A custom countertop is not simply cut to size. Details such as edge polish, cutout accuracy, and seam preparation all affect the final result once the slab reaches the home.
Step 5: Scheduling and Preparing for Installation Day
When fabrication is complete, the installation is scheduled. Countertop installation day is often faster than homeowners expect, but proper preparation still matters because the materials are heavy and the installers need clear access to the work area.
How to prepare your home
- Remove small appliances, décor, and breakable items from surrounding counters and shelves
- Clear a path from the entry door to the installation area
- Keep children and pets away from the workspace for safety
- Protect or move nearby furniture if access is tight
- Confirm whether plumbing reconnection will happen the same day or later
If you are replacing old countertops, there may also be demolition or removal beforehand. In some projects, the removal happens on the same day as installation; in others, it may occur earlier. This depends on the material, the condition of the cabinets, and the project schedule.
Homeowners planning a stone countertop installation St Petersburg FL or Tampa-area project should also expect installers to need adequate maneuvering space. Large stone pieces, especially island sections, can be difficult to carry through narrow halls, stairwells, or tight doorways.
Step 6: Removal of Existing Countertops
For replacement projects, the old countertop must come out before the new one goes in. Removal can be straightforward or more involved depending on how the previous top was installed and whether the backsplash, sink, or wall finishes are being kept.
What removal may involve
- Disconnecting plumbing fixtures and sinks
- Cutting caulk or adhesive lines
- Detaching the countertop from the cabinets
- Removing an old backsplash if it is part of the project
- Inspecting the cabinet tops for any needed repairs
This is an important moment in understanding what to expect during countertop replacement. Once the old top is removed, installers may discover minor issues such as wall unevenness, cabinet shimming needs, or damage hidden beneath the previous countertop. These are common jobsite realities and may require small adjustments before the new top is set in place.
Step 7: Delivery and Dry Fitting the New Countertop
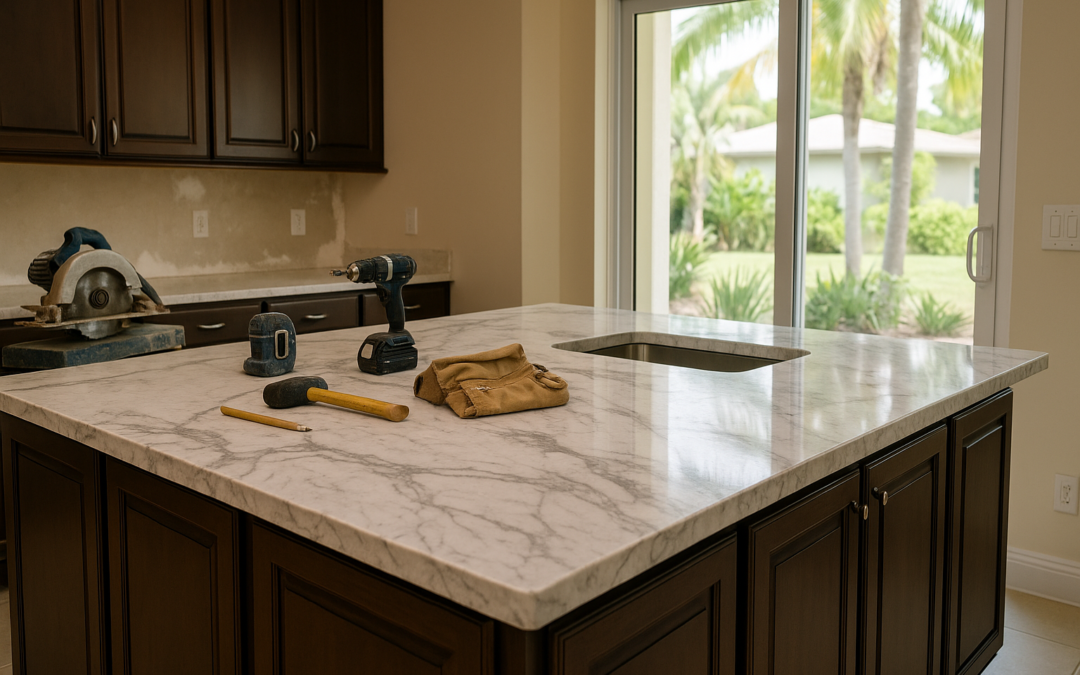
On installation day, the fabricated pieces are brought into the home and carefully positioned. Installers often begin with a dry fit, meaning they place the pieces to confirm alignment, overhang, seam fit, and general placement before final attachment.
What installers check during fitting
- The countertop sits properly on the cabinets or vanity
- Edges line up as planned
- Cutouts match the sink or appliance specifications
- Seams fit cleanly and consistently
- Overhangs are even
- The wall side fits as expected given the room’s shape
Because no room is perfectly uniform, some minor field adjustments may be needed. That does not necessarily mean something is wrong. It simply reflects the reality of fitting custom materials into an existing structure.
Step 8: Final Installation, Seams, and Adhesion
Once the fit is confirmed, the countertop is secured in place. The method used can vary by material and application, but the goal is to set the pieces safely and accurately without creating stress points.
What happens during final placement
- Installers apply adhesive or setting materials where needed
- Countertop pieces are lowered and aligned
- Seams are joined and adjusted
- Excess adhesive is cleaned up
- Sink mounting may be completed if part of the scope
Seams are a normal part of many larger countertop projects, especially in kitchens with long runs or islands. A quality seam is typically designed to be as unobtrusive as possible while maintaining structural integrity. Its visibility depends on the material pattern, slab size, color variation, and room layout.
Homeowners expecting an entirely seamless look should discuss that goal early in the planning phase, because seam location often depends on both design and practical transportation limits.
Step 9: Sealing, Caulking, and Finishing Details
After the countertop is installed, the final details help complete the project. These may include caulking at the wall, finishing seam areas, cleaning the surface, and discussing care instructions.
Some stone materials may require sealing, while others do not, depending on the type of surface and the finish. The installer may also review any waiting period before reconnecting plumbing, using sinks, or placing weight on overhang areas.
Final checks often include
- Surface inspection for shipping or handling issues
- Confirming the sink and cutouts are properly aligned
- Checking seams and edge finishes
- Reviewing the caulk line where the countertop meets the wall
- Cleaning residue from installation
This is a good time to walk the space with the installer and understand what is complete, what still needs another trade such as a plumber, and how to care for the new surface in the first few days.
Important Considerations for Tampa and St. Petersburg Homes
Homes in the Tampa Bay area can vary widely in age, layout, and renovation history. That means countertop installation may look slightly different from one property to another. In older homes, walls and corners are often less square, and cabinets may need extra leveling before templating or installation. In newer homes or condominiums, elevator access, loading rules, and delivery windows can affect scheduling.
Humidity and coastal living do not change the basic installation steps, but they can influence the broader remodeling environment. Good ventilation, proper cabinet condition, and attention to moisture around sinks and plumbing are all important for long-term performance.
If you are planning a custom countertop installation Tampa FL project, it is wise to build a little flexibility into the schedule. Delivery logistics, cabinet readiness, and coordination with plumbers, tile installers, or appliance teams can all affect the final timeline.
How Long the Process Usually Takes
The full schedule for a countertop project depends on the material, project size, fabrication complexity, and how ready the space is when measurements are taken. The in-home installation itself may be completed in a relatively short window, but the overall process typically includes time for selection, templating, fabrication, and coordination with other trades.
Homeowners often make the experience easier by treating the project as a sequence rather than expecting everything to happen at once. For example, there may be a gap between templating and installation while the countertop is being fabricated. That waiting period is a normal part of custom work.
Common Homeowner Concerns During Countertop Replacement
Most concerns during replacement projects are practical. People want to know how disruptive the work will be, whether they can use the room the same day, and what happens if something behind the old countertop is not perfect.
In many cases, the biggest temporary inconvenience is reduced access to the kitchen or bathroom while the work is underway. If a sink is disconnected, water access in that area may be limited until plumbing is reconnected. Dust and noise may also occur during removal or adjustments, though professional crews generally try to contain the mess as much as possible.
Another common concern is whether the finished countertop will look exactly like a sample piece. With stone and other slab materials, natural variation is expected. That is one reason slab viewing and template planning are so valuable during the early design stages.
Tips for a Smoother Installation Experience
Homeowners can do a lot to support a successful outcome. Clear communication, good preparation, and realistic expectations all help.
- Finalize sink, faucet, and appliance choices before templating
- Make sure cabinets are installed and secure before measurements are taken
- Ask about any support requirements for overhangs or bar seating areas
- Understand who is handling plumbing disconnect and reconnect
- Remove items from the work area in advance
- Review care instructions for the material you selected
These simple steps can reduce last-minute changes and help keep the project moving efficiently.
Conclusion
A custom countertop project is a detailed process, but it becomes far easier to manage when you know what each stage involves. From material selection and templating to fabrication, delivery, fitting, and final finishing, every step plays a role in the quality of the result. Whether you are planning a stone countertop installation St Petersburg FL homeowners trust for a bathroom renovation or exploring a custom countertop installation Tampa FL project for a kitchen remodel, understanding the timeline and preparation needs can help you move forward with confidence.
The most important takeaway is that custom countertops are not just products; they are carefully measured, fabricated, and installed features designed for your specific space. When cabinets are ready, selections are finalized, and expectations are clear, the countertop fabrication and installation process tends to be more predictable and less stressful. If you have been wondering what to expect during countertop replacement, the answer is simple: thoughtful planning, precise craftsmanship, and a final transformation that can significantly improve the look and function of your home.